Related
Potatoesare a very common veggie that you could enjoy most week because of their versatility . you could use them to make many different delicious mantrap . Not only are murphy various , but they also have other benefits , include being high in fiber , which helps with weight loss because it keep you full longer . They are also a great source of vitamins and mineral and control a amylum known as resistant starch , which is good for blood line gelt control and digestive wellness .
With all of these rattling health benefit , everyone should be grow their potato plants , and we are here to show you how to grow dissimilar kinds ofpotatoes in container .
What you will need:
A Step-By-Step Guide On How To Grow Potatoes In A Container
Step #1: Prepare Your Container
double credits : blufish77 via Canva
Once you ’ve added the grunge , your container will be somewhat heavy , so it ’s best to set it up first so you do not have to move it after planting . Add your soil to the container now that you have it in the perfect spot . You do not want to fill up your container to the top because later you will be summate more soil , so only fill the container about 3/4 the agency full . Your soil should be high - timber or organic with skilful drainage because you do not want your potatoes to get overwatered and inert .
Step #2: Add Fertilizer
Image reference : Zummolo via Canva
Once you jell up your container and ground , it ’s time to add together your fertilizer . The plant food should be slow - release the first clip you add it , but after that , you may use a liquid fertilizer every few weeks to increase your soil health and produce more potatoes . Since you ’re growing your white potato in containers , they need a lot of water and nutrients that they would normally get from the undercoat , and that ’s why it is important to add fertilizer more than once .
But be careful not to over - fertilize your plants ( like using them more than once every few workweek ) because that can make your potatoes burn down .

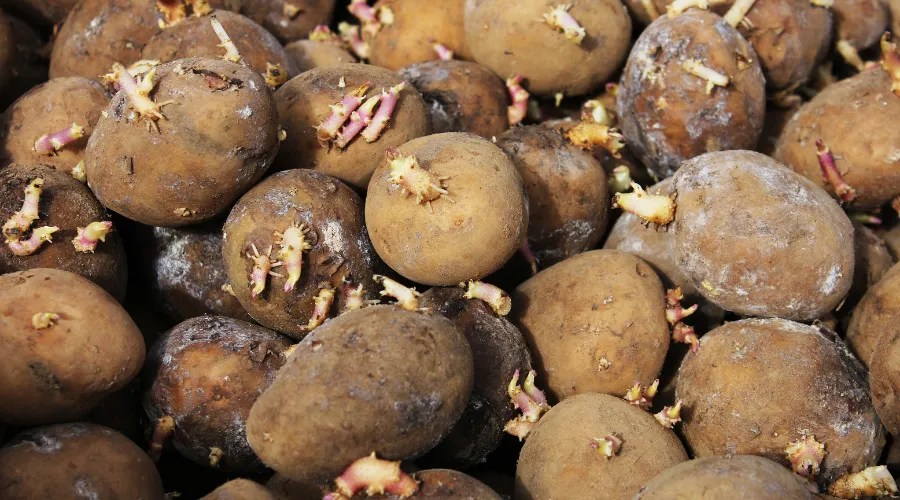
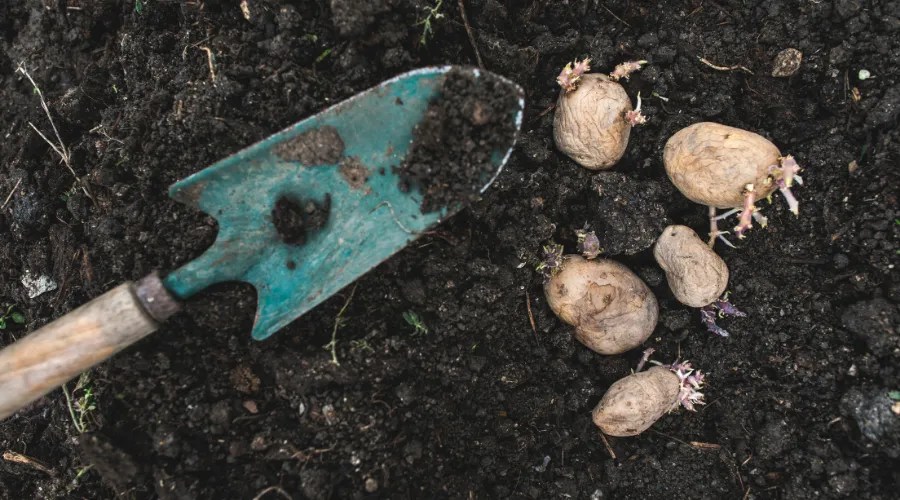
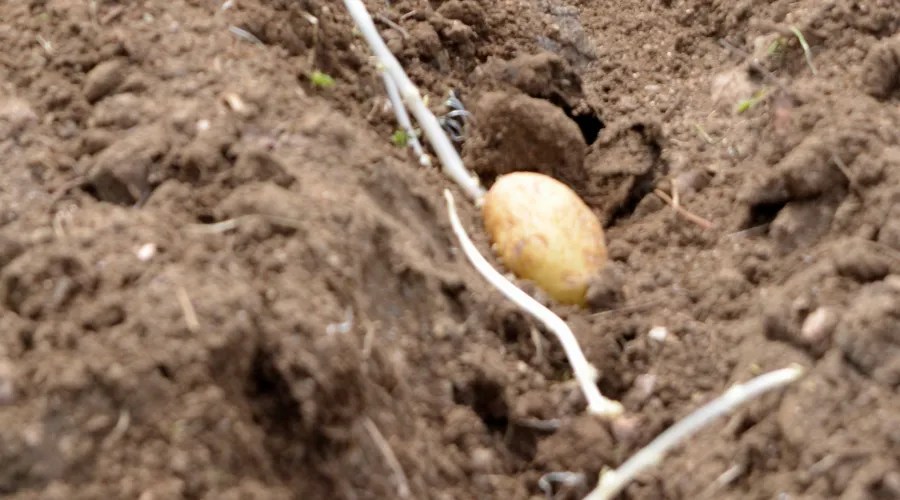
Step #3: Seed the potatoes
Image credits : Yamtono_Sardi via Canva
When preparing your seed white potato , you could cut them into pieces , but you require to make trusted each bit has a bud on it . Do not slue them smaller than 2 inches for dear results . You also will want to cut your ejaculate potatoes a Clarence Shepard Day Jr. or two before you project to institute them .
works 1 semen in a 30 - gal plastic / wood container . So , for example , if your container is 90 Imperial gallon , you would engraft 3 potato semen .

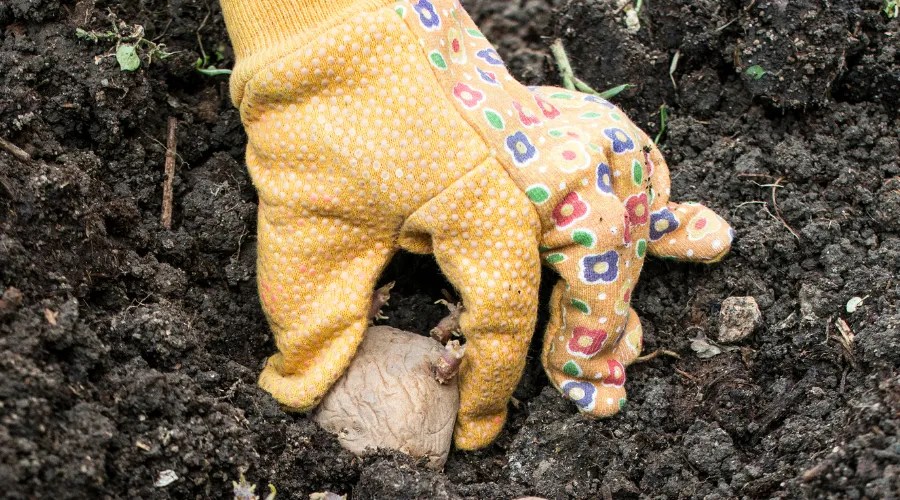
Step #4: Plant your seeds
Image mention : Deyan Georgiev via Canva
Next , you will need to do your seed white potato in your container . You will want to make trusted the seeds are space out from each other because each plant can produce big . For example , if your container is about 20 inches wide , you could institute 4 ejaculate potato pieces in it , or 30 inches wide , you could plant 6 seed potato small-arm , and so on .
Step #5: Cover your seeds with soil
A couple of inch will do . You do not need to entomb them too deep . If you inhabit in a cooler place , you should add less land since this plant likes to be warm .
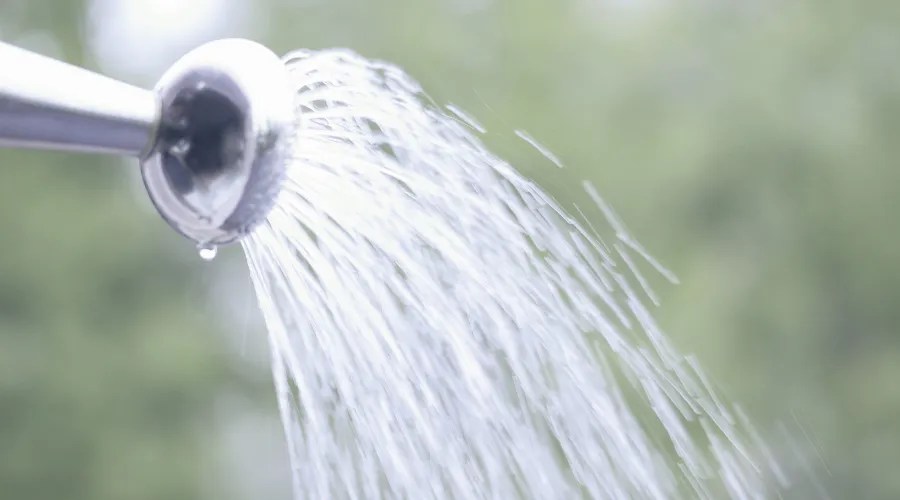
Step #6: Water The Seeds
mental image credits : Anthony Comstock via Canva
Potatoes need a draw of sun , about 8 hour a day , and piss . They need to remain moist / dampish , not soaked and boggy , so be careful ofoverwatering . You should checker on your potato plants every twenty-four hour period , just check the soil to check that it is not dry out .
The soil needs to be soaked throughout , so if the top expect dry , that does not mean the bottom is dry out out . you’re able to stick your finger into the soil , about an inch down to test the moistness . If you ’re disquieted about your filth not being lactating enough , you’re able to go ahead and irrigate it .

Step #7: “Hill” or rebury your seed potatoes
Image cite : RolfAasa via Canva
After a workweek or so , your potatoes will have grown a few inch above the soil . When this happens it is time to hill or rebury your plant . You necessitate to add a duo of inch of fain dirt around the bud plant . You do not want to get across it entirely , but you want the base to be reburied . Be deliberate not to add too much land . You do not want your plant to break !
This outgrowth needs to be done every few weeks when grow your potatoes to guarantee the good consequence . you may stop this process when the soil reaches the top of your container .

Step # 8: Harvest Your Potatoes
Image recognition : Ozii45 via Canva
Well , it ’s been 7 - 8 weeks since you planted your tater , and now it is time to harvest . You will know they are quick to harvest when you see your plants lead off to blossom .
To reap your white potato vine , you need to begin by reaching down into your container of stain and cautiously pulling out a few potatoes at a sentence . If you pull out a bunch of really small potatoes , do not throw them aside think they are not for cooking , you may habituate these small potatoes in salad and stews and be just as well as the large potatoes .

If you have waited more than 7 - 8 hebdomad to reap , you may notice your plant has started to pall off and become yellow-bellied . When this materialise , you’re able to quickly reap the rest of your potatoes by dumping the container right out onto your lawn . you could then collect the potatoes , and the soil leftover will work as safe soil and fertilizer for your lawn .
To Sum Up
There you have it ! Now you may grow your own potato in a container . you’re able to wash them off and cook them right aside or store them for later use . But now you recognise how easy it is to grow your white potato with just a little Sunday , water supply and time .